
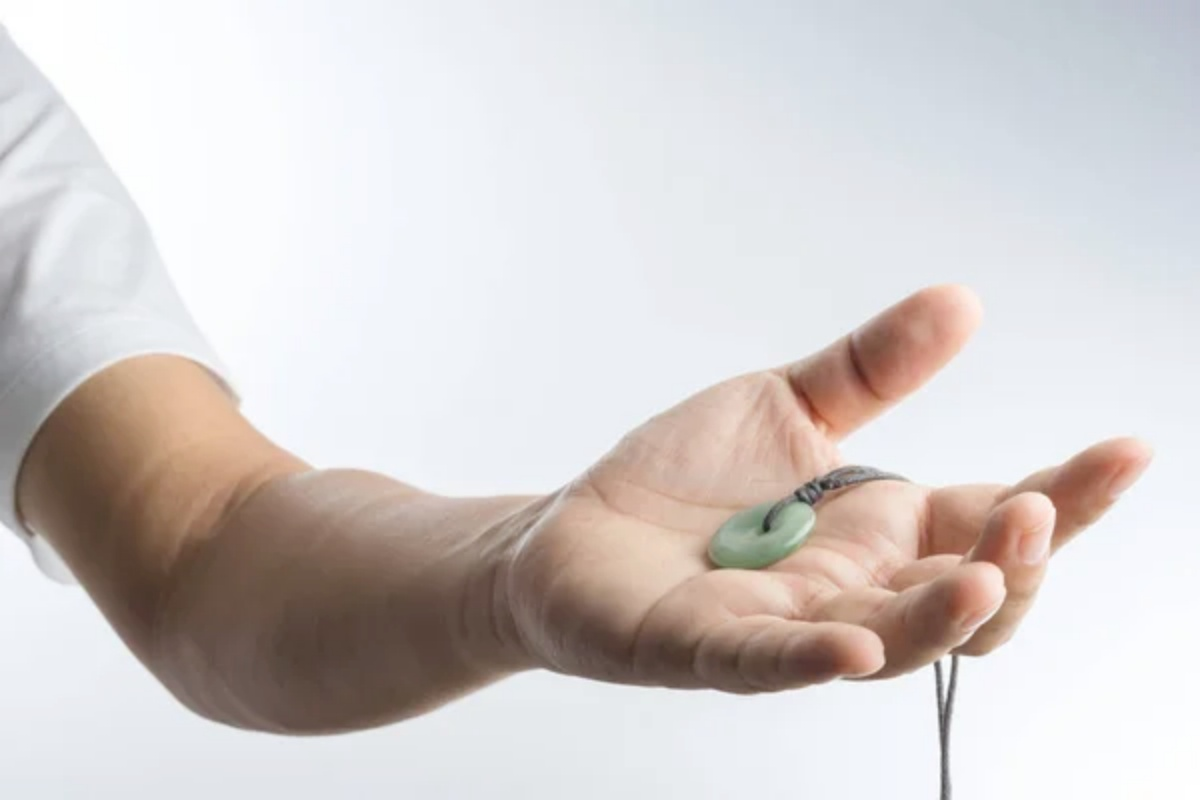
A pendant carving is often much smaller than a ring or bracelet, but it tends to carry more personal meaning. Many customers bring sketches, pet photos, or family symbols and hope to turn them into something they can wear every day. This article will explain in detail the entire process of creating a pendant from sketch to finished product, outlining each step of the hand-carving process and highlighting important considerations.
Custom Pendant Starts With Observation
Some owners want to incorporate their pets into their pendants and have provided many photos of their pets, which we need to carefully examine. Small details matter. The way a dog’s ears sit, the curl of a tail, or a cat’s typical expression often become the features that make the final pendant recognizable. Sometimes small details from a pet’s daily life can inspire decorative elements in the design. Even if the customer provides the design directly, we need to observe and think about what these designs represent in their lives. These observations help determine which details deserve attention and which can be simplified once carving begins. Before transferring the design, I always inspect the metal blank for cracks, pits, or inclusions that could affect the carving later. We need to select areas that are pure and flawless for the design. 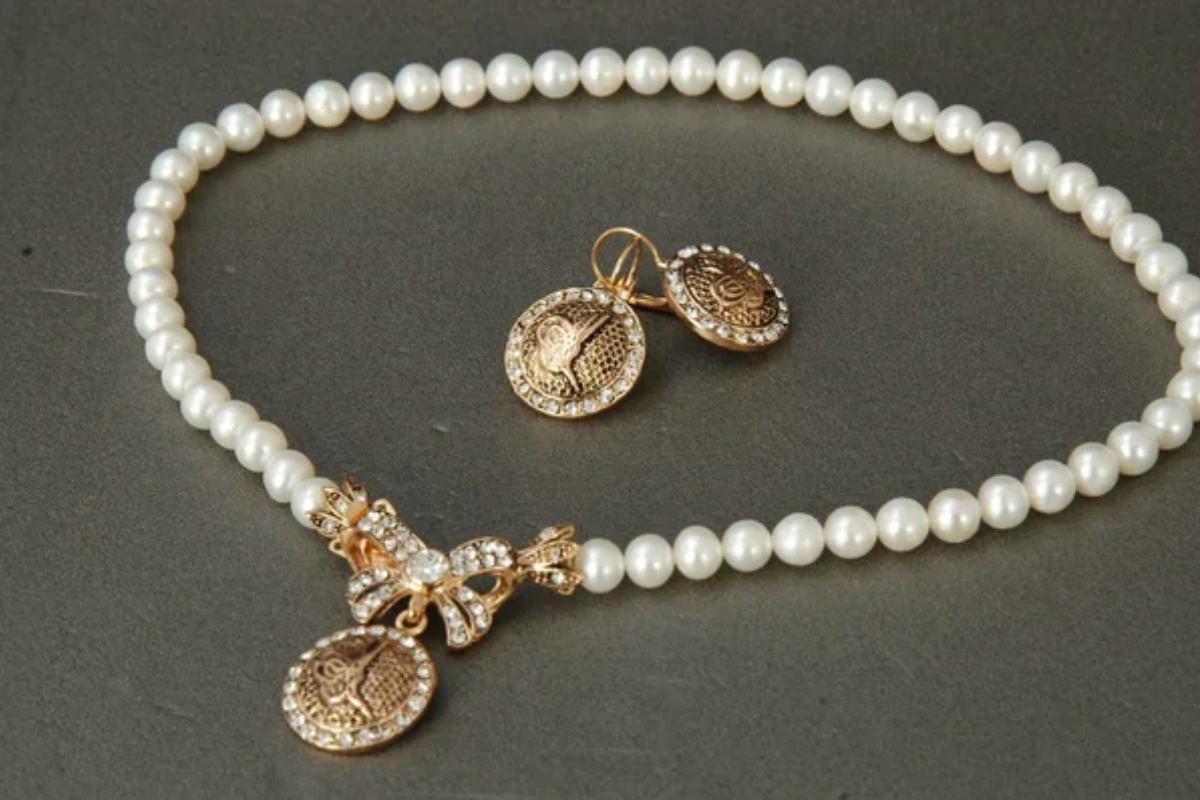
Building the Design Before Cutting Metal
Before any metal is touched, several versions of the sketch are usually tested on paper. Some sketches work immediately, while others may go through several revisions before the composition feels balanced. Each time I make an adjustment, I compare it with the original image, which may take two or three days, until I reach the ideal state in my mind. Next comes structural adjustments. Since a pendant is ultimately worn around the neck, its center of gravity, thickness, and the position of the chain on the back must all be verified on paper beforehand. My usual method is to cut out paper molds and stick them on coins or wax blocks to simulate the drape when wearing them. If a certain corner always turns outward, I go back to the sketch and modify the outline curve. Sometimes a design looks balanced on a screen but feels awkward once reduced to pendant size. On a 2-centimeter square pendant, a cat’s whiskers would be too fine to be carved in real proportion. In this case, the lines need to be thickened and the details simplified, while maintaining the likeness.
Pendant Carving Surface Treatment
Holding the workpiece still is crucial. If you hold it directly by hand while sanding, the uneven force can easily scratch the fine texture. The edges can be secured with a bench vise, or sealed with sealing wax onto the tray. Some modern carving machines are also equipped with fixing devices, making them easier to operate. Once the initial shaping is complete, fine-tuning can begin. Use hand files of varying grits and flexible grinding needles to consciously fine-tune the hard edges left by the carving. For example, the indentations of the leaf veins need to be deeper, while the edges of the outline need to be slightly chamfered to allow light to produce a soft, diffuse reflection on the metal surface. 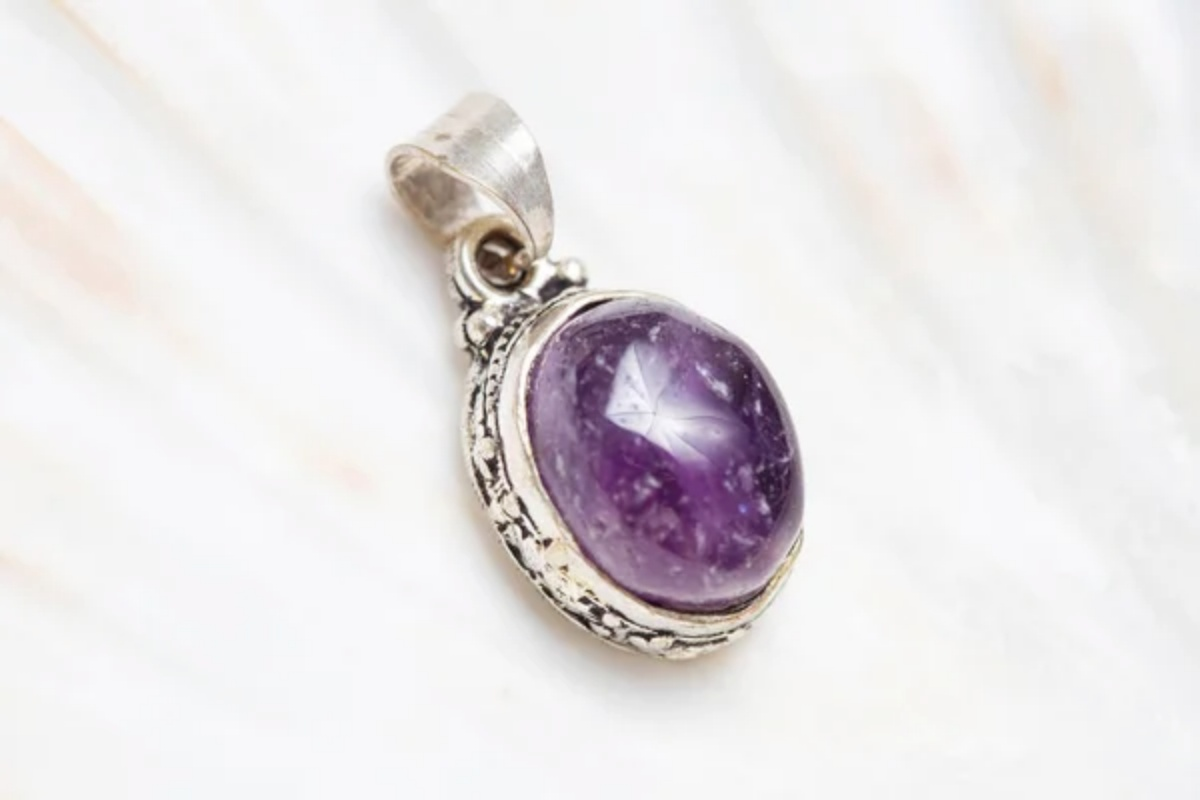
Pendant Carving Design Drawing
After processing the metal surface, the design drawing can be cut out. When outlining, first use a sharp needle to gently draw a shallow groove 0.2-0.5mm deep along the design outline. Sharp corners are often where mistakes happen, so I slow down noticeably whenever the line begins to curve. After outlining, proceed to deepening the groove. Use a wider U-shaped carving tool to repeatedly push along the original line to achieve sufficient depth. For a pendant with a thickness of 1cm, the outer contour should not be too deep, as a deep cut will weaken the pendant’s structure. Next comes the shading, which isn’t actually done by painting it completely black. First, distinguish between the background and the main subject, then switch to a flat-headed scraper. Tilt the chisel at a shallow angle and remove the background material, making sure the deepest cut does not exceed half the thickness of the material. Once the major cuts are complete, the surface textures can be added. Select a single-groove needle or small ball mill head according to the pattern. Use short, quick strokes like hatching, with a consistent direction and varying density. After carving, lightly brush the rough edges with fine sandpaper.
The Final Polishing and Inspection Stage
First, remove the burrs. Use a fine ceramic grinding head or a pointed awl made of 400-grit sandpaper to gently sweep along the carving lines, removing only the curled edges without damaging the depth of the lines. Apply light pressure to prevent chipping or fading of the lines. Use an ultrasonic cleaner, a soft-bristled toothbrush with dish soap, and a high-pressure air gun to thoroughly remove metal powder and polishing compound from the scratches. When polishing, be sure to proceed from coarse to fine. First, use a hard cloth wheel dipped in green paste to polish large areas, then switch to a soft wool wheel dipped in red paste, and finally use a velvet wheel dipped in white paste to polish to a mirror finish. Finally, check the reflection effect under different light sources. A uniform, soft reflection with clear, three-dimensional texture is acceptable; if any area is glaring or blurry, you need to go back to the previous grit count and redo it.
The very last
Some of the longest hours in pendant carving are spent fixing details that most customers will never notice. These subtle fixes are what give the pendant its final balance and charm.