
When carving any metal object, it is difficult to meet the standard of a work of art by simply carving the lines of the metal surface. In order to carve a marvelous piece of artwork, the carver will use a variety of materials (gold, silver, jade, titanium alloy) according to his design and inlay them in different locations of the metal material to create metal inlay artifacts. Metal inlay is a further enhancement of carving works, no matter for beginners or carvers, practicing metal inlay can not only improve their carving skills, but also improve the level of their carving design. Next, let us have a good understanding of the knowledge of metal inlay.
History of metal inlay
Although the craft of metal inlay first appeared in China, the English term “inlaid metalwork” comes from the ancient city of Damascus. Damascus was famous for its exquisite inlaid metalwork, and people were so impressed by it that they called the metalwork craft Damascus. Due to its geographical location and commercial advantages, Damascus’ metal inlay crafts were exported overseas. Centuries later, the art of metal inlay developed in Europe. By the 16th century, the Spanish city of Toledo became a major center of production of this art. Toledo’s weapons and court art were made with the noble and elegant inlay.
Types of Metal Inlay
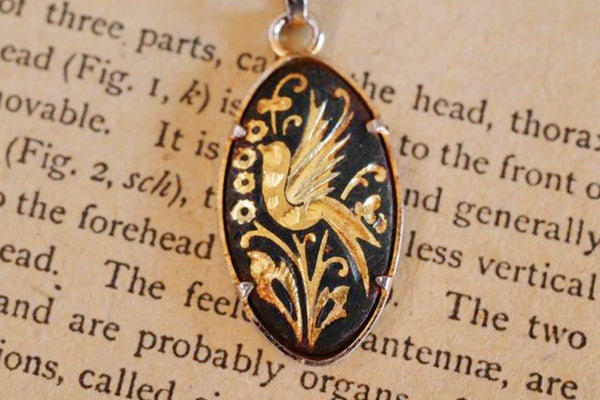
- Toledo metal inlay: dazzling gold and silver floral motifs inlaid into solid black steel.
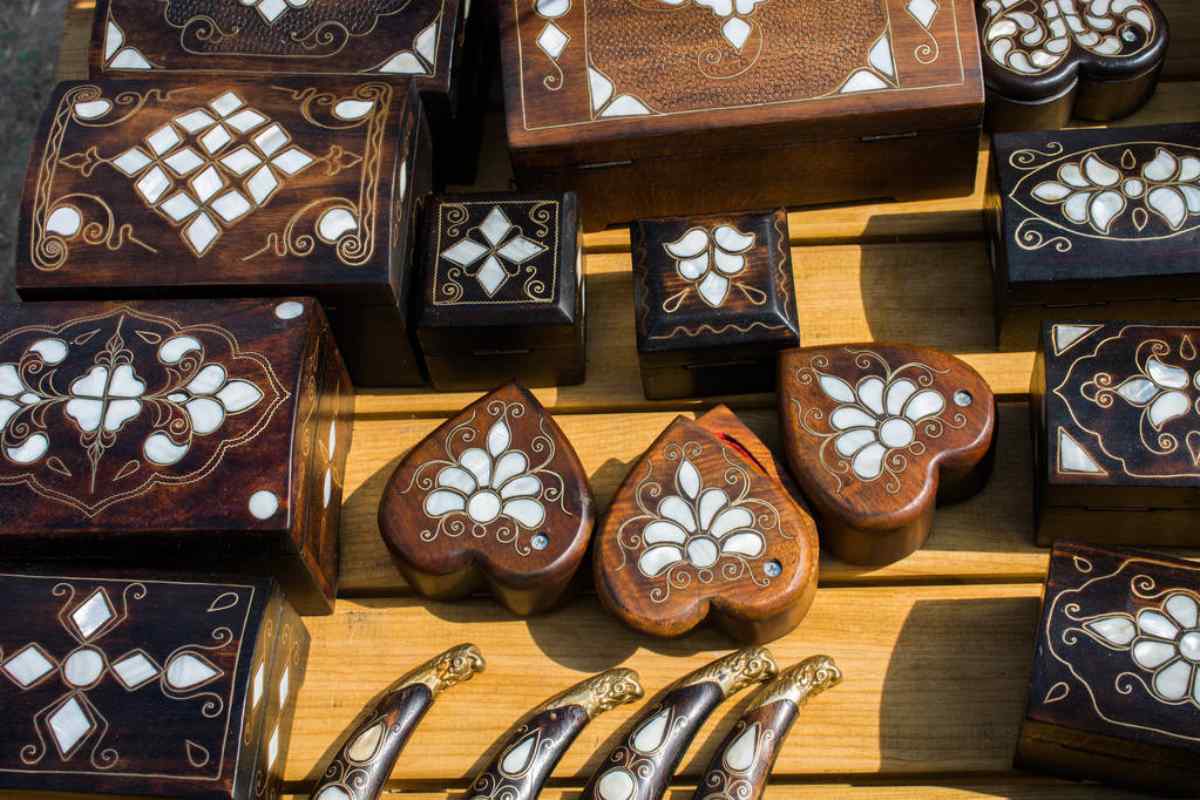
- Wooden metal inlay: hand inlaid metal lines on wooden materials, mostly used for wooden furniture.
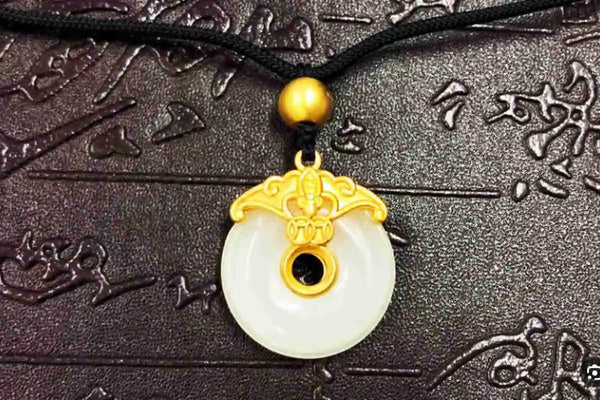
- Jade metal inlay: jade inlaid in metal fittings, common gold inlaid jade.
- Titanium metal inlay: modern metal inlay process, other materials embedded in titanium alloy steel plate.
Metal Inlay Process
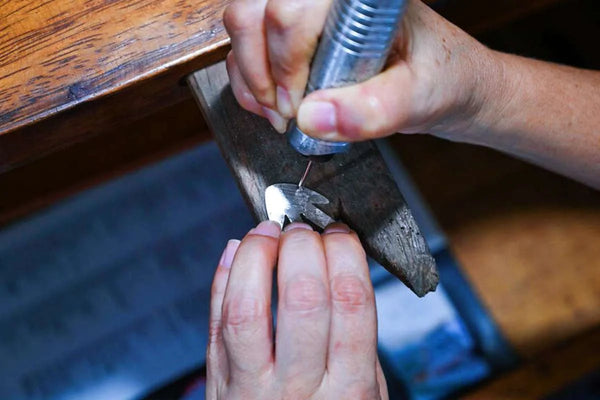
Step 1: Preparing the materials
The most basic engraving tools – a hand carving knife, file and chisel are necessary to carve the detailed parts. Due to the development of modern machinery, if available, you can purchase a pneumatic engraving machine to complete the engraving steps, saving labor and time. You also need to prepare resin paint to be applied regularly to reduce friction when embedding the metal. As well as different standards of sandpaper to polish some rough parts of the inlay process.
Step 2: Grooving
Metal inlay is the process of inlaying different materials on a single piece of substrate. Start by preparing several pieces of steel in different shapes and sizes. Choose the most suitable steel piece according to your design and start draw a line. Using a hardened engraving steel knife, the operator carves fine lines up and down the metal surface, marking the part of the metal to be embedded in the material and completing the sketch of the inlay.
Step 3: Apply resin
The sheet metal is placed on a wooden workbench that can be adjusted up or down, and then held in place with a special tool to prevent it from sliding. Next, a resin called Greek tar is applied, and a carving knife is used to remove the excess steel from the marked positions and carve out the concave lines. If the design includes micro-inlays, the tiny inlay grooves are carved under a stereo microscope.
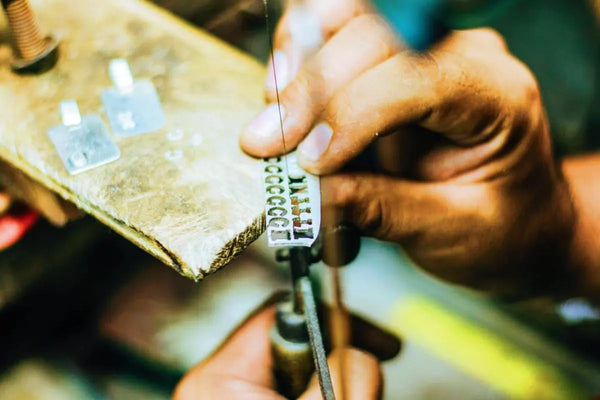
Step 4: Embedding
The base embedding material is usually metal wire (silver, gold or steel wire) The operator holds the gold wire in one hand and gently taps the hammer in the other, embedding the metal wire into the concave lines of the engraved pattern until the entire pattern is inlaid. The engraved motifs can be varied. It can be a beautiful arabesque pattern of flowers and leaves or a view of the old city of Toledo. Several motifs are combined to create beautiful pictures of the design. Tiny gems and diamonds can also be inlaid with the help of a stereo microscope to add to the splendor of the carving.
Step 5: Secure the inlay.
Using a larger hammer, gently tap the metal wires on the metal piece, thus securing the metal wires on top of the engraved pattern.
If it is desired to create a Toledo metal inlay, the operator will also need to do the following. The metal sheet is immersed in a solution of caustic soda and potassium nitrate at a temperature of 800 degrees Celsius to oxidize the color of the metal sheet to a deep black. The dark black color of the bottom layer will be able to set off the gold color pattern. The strong visual impact is the beauty of the unique inlay technique.
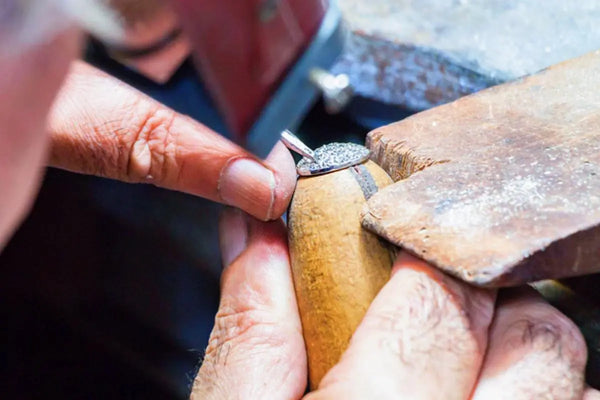
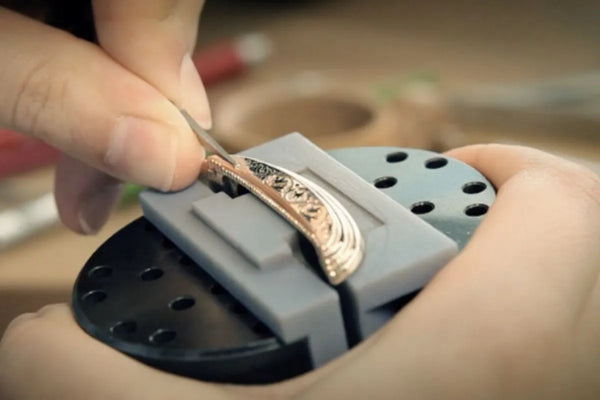
Step 6: Chiseling and polishing
The pattern on the metal piece is chiseled to create a sharp and clear outline. All the detailed objects, such as feathers and flower petals, are processed at this point, using sandpaper to create a glossy finish. In the case of Toledo metal inlay, the artifact is polished with onyx stones to make the gold threads on the surface of the metal piece shiny and shimmering, contrasting in color with the deep black of the base. Each piece of metal inlay is a delightful, shimmering landscape.
Conclusion
Metal marquetry is a distinctive feature that emphasizes the skill of the marquetry artisan. Over the centuries, craftsmen have endeavored to preserve the art of marquetry so that it can be passed down and admired to this day. Whether you are a carving enthusiast, a beginner, or even a master carver, metal inlay is an important technique to learn and understand.